
Instructions
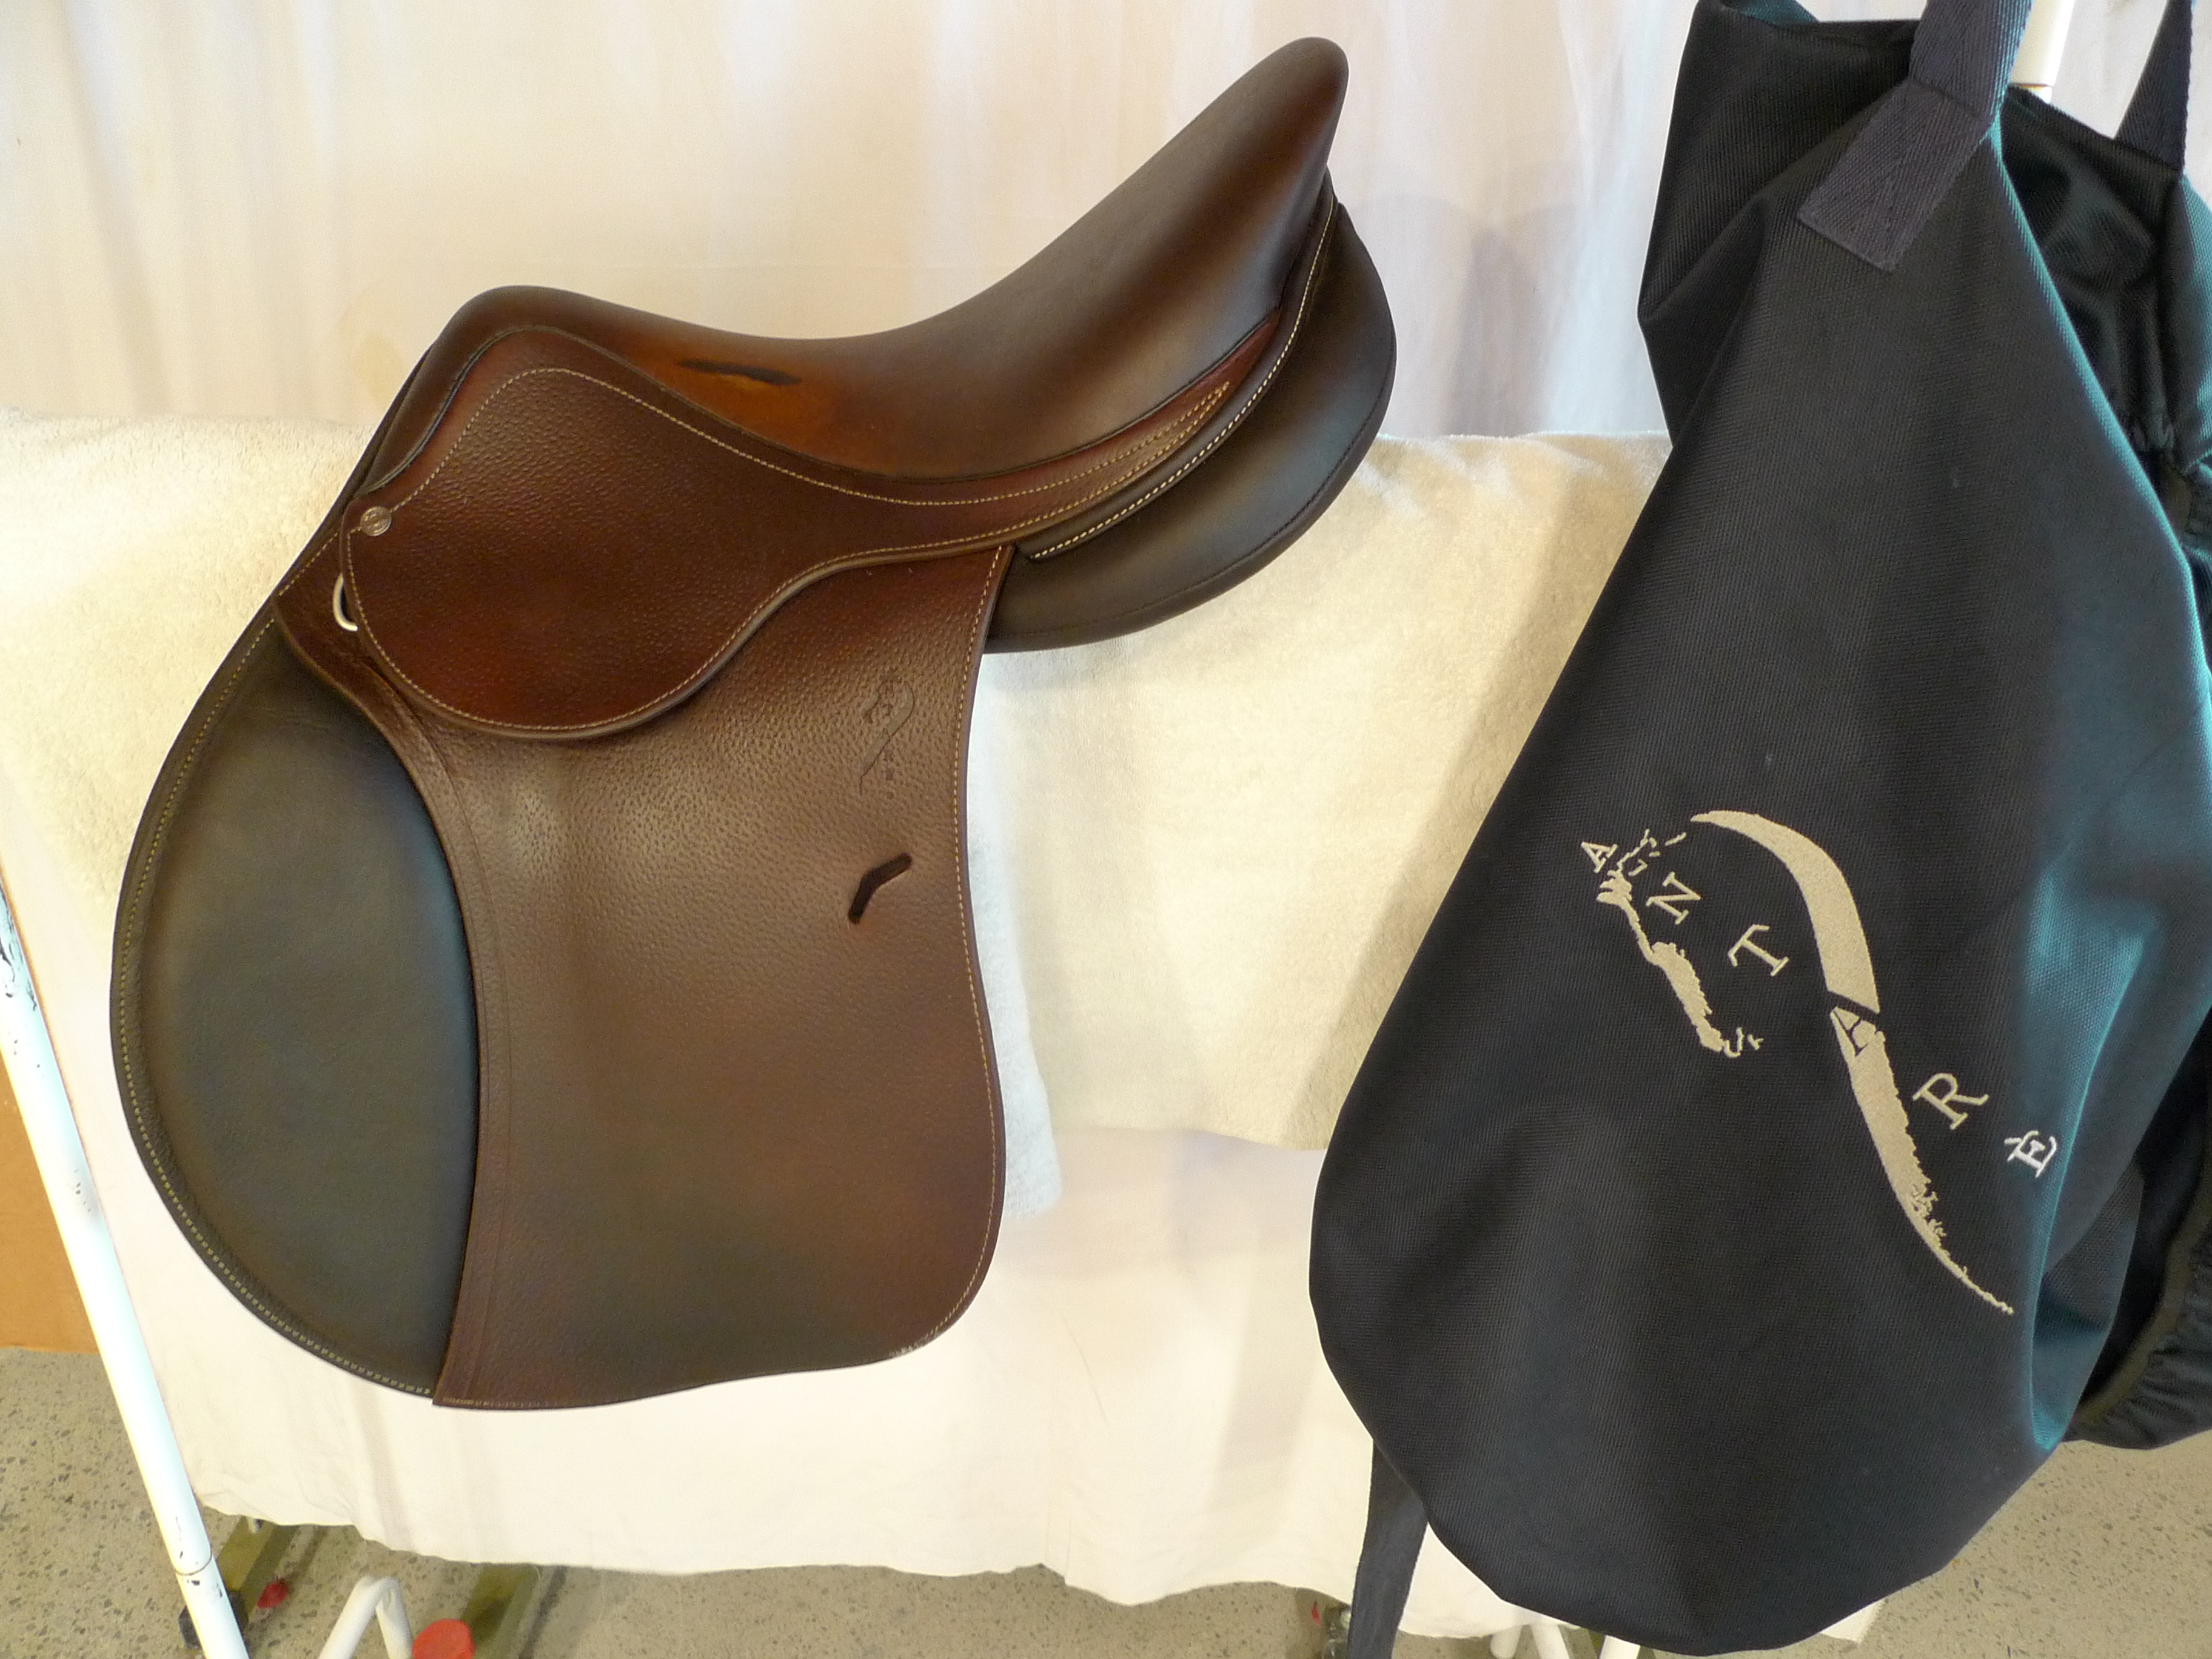 #1 Before
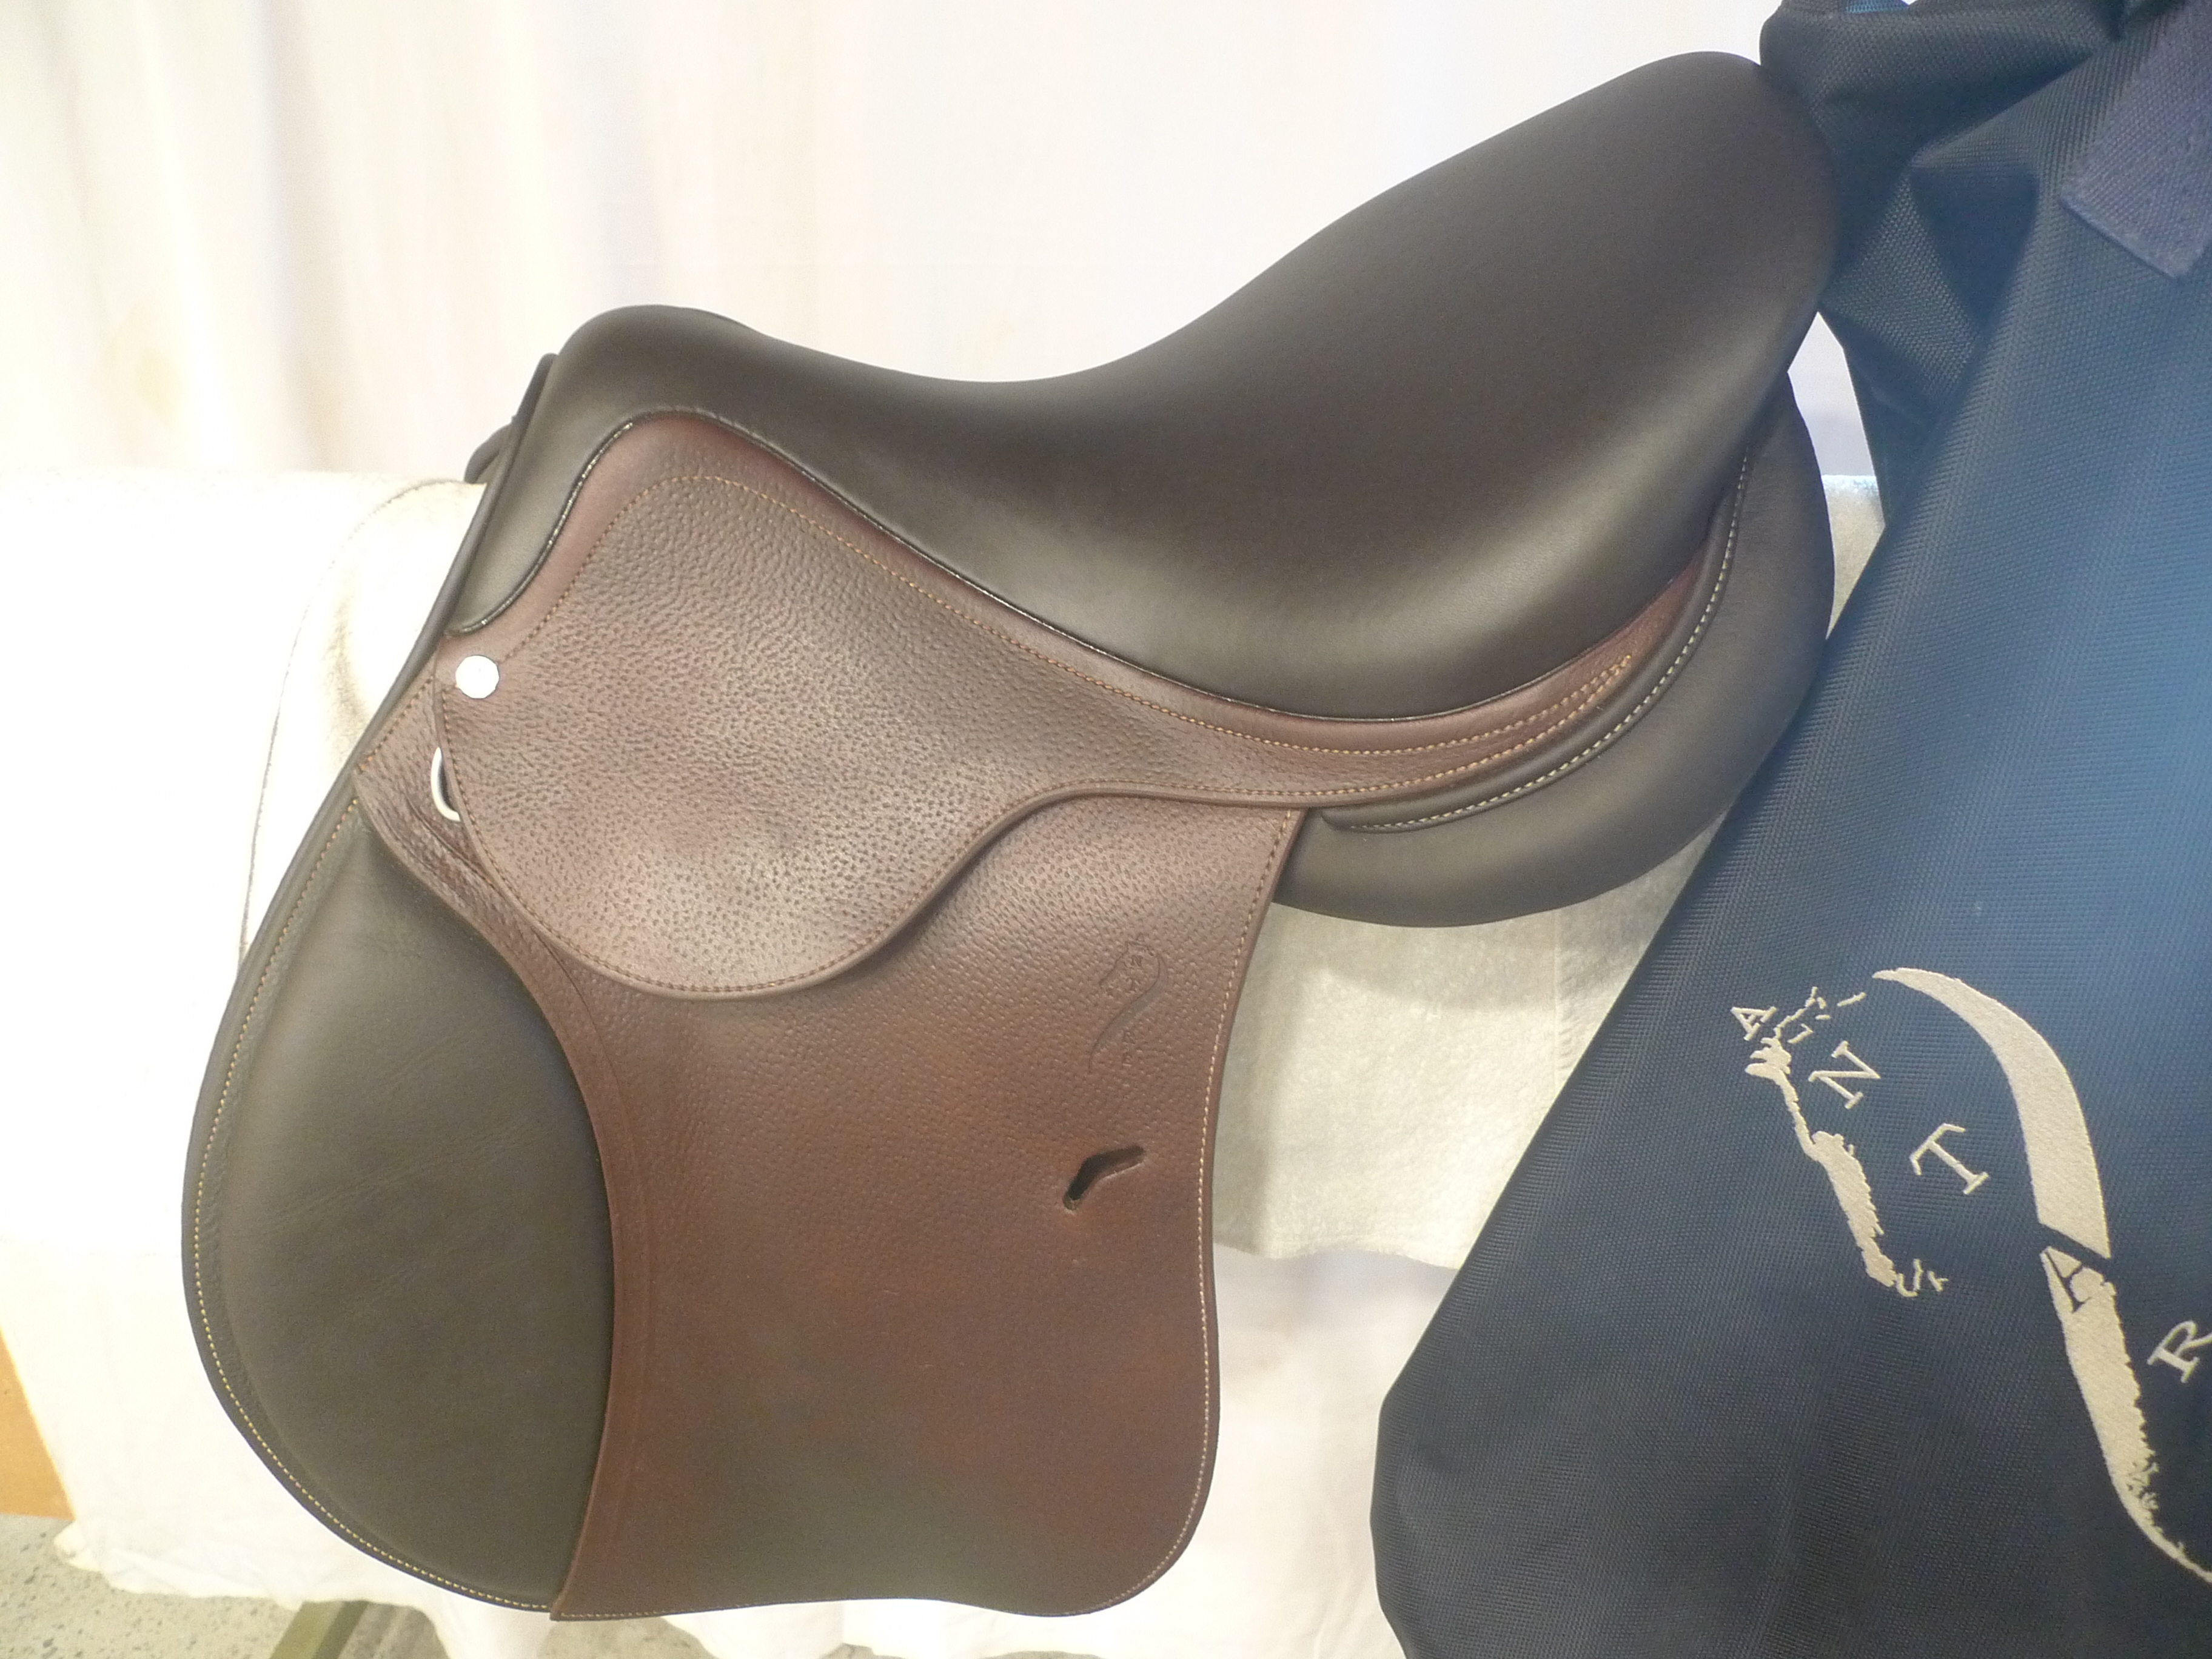 #2 After
Restoring Transparent Aniline Color
These instructions guide you through restoring transparent aniline color on aniline vegetable-tanned saddlery leather using Leather Doctor® Saddlery Dye 42 →
Our Destination
Before you begin, look at the restoration objective.
The first photograph shows the saddle before color restoration.
The second photograph shows the same saddle after the transparent aniline color has been restored.
Your objective is not simply to make the leather darker.
It is to restore the original transparent appearance while preserving the saddle's natural character.
Take a Tour of Your Saddle
Before opening Dye 42, spend a few moments becoming familiar with your saddle.
Walk around it.
Notice the smooth leather, the carved tooling, the basket-weave patterns, and the areas that have faded through use.
Look at how the transparent aniline color has aged.
Observe the saddle first.
The restoration will become much easier once you understand the leather in front of you.
Gather Your Materials
Have everything ready before you begin.
- Mixed Dye 42
- Distilled water
- Foam brush
- Detailing horsehair brush
- Small artist brushes
- Clean lint-free towels
- Clean wet-out white towel
- Mixing container
- Protective gloves
- Airbrush (optional)
Having everything within reach allows you to work without interruption.
Match the Tool to the Leather
Choose the applicator that best matches the leather surface.
A smooth seat may be covered efficiently with a foam brush.
Carved tooling, basket-weave stamping, borders, and narrow areas may be easier to control with a small artist brush.
Choose the tool that gives you the greatest control while matching the original appearance.
Observe the Original Dyeing Texture
Examine a well-preserved area of the saddle.
Look closely at how the original transparent aniline color was applied.
Is the surface smooth and evenly colored?
Or does it have a natural sauvage appearance where the brush strokes form part of the finished character?
Your objective is not to create a new appearance.
It is to restore the original appearance.
If a smooth, even finish cannot be reproduced satisfactorily with a brush, consider fine airbrushing to achieve a more uniform transparent finish.
Practice Before You Begin
Before applying Dye 42 to the saddle, practise your application technique on a piece of vegetable-tanned leather or a plain piece of cardboard.
Use the same applicator you intend to use on the saddle.
Observe how Dye 42 flows, spreads, and dries.
Adjust your technique until you are satisfied that both the color and the application texture match the appearance you wish to achieve.
Only then begin restoring the saddle.
Apply Dye 42
Work one natural panel or section at a time.
Apply Dye 42 evenly with your chosen applicator.
Allow the dye to flow naturally into the leather.
Brush lightly to maintain an even appearance.
If an area begins to lose its wet appearance before the surrounding leather, brush over it again to keep the application even as it dries.
Continue until the entire section has been completed.
Allow to Dry
Allow the dyed leather to dry naturally.
Do not continue until the leather is completely dry.
Check for Excess Dyestuff
Wipe the restored area with a clean, Wet-Out White Towel.
The damp towel better reflects real-world conditions where perspiration, horse sweat, or rain may cause excess dyestuff to bleed more readily than a dry rub test.
If little or no color transfers to the towel, continue with the restoration.
If noticeable color transfers, apply Fix 2.8, allow it to dry, and repeat the Wet-Out White Towel test.
Continue only when little or no color transfers.
Continue the Restoration
Once the transparent aniline color has been stabilized:
- Apply Hydrator 3.3. Allow the leather to equilibrate, then extract any excess dyestuff brought to the surface.
- Apply Fatliquor 5.0.
- Finish with Conditioner 3.2.
The color restoration is now complete.
Restoration Sequence
Observe the Saddle
↓
Gather Your Materials
↓
Match the Tool to the Leather
↓
Observe the Original Dyeing Texture
↓
Practice Your Technique
↓
Apply Dye 42
↓
Allow to Dry
↓
Wet-Out White Towel Test
↓
Fix 2.8 (when required)
↓
Hydrator 3.3
↓
Extract Excess Dyestuff
↓
Fatliquor 5.0
↓
Conditioner 3.2
Need to Understand Why?
Read the Leather Doctor® Restoration Resource
Why Restoring Leather Color Is More Than Choosing a Leather Dye →
September 20, 2026 by Roger Koh